Welcome to Car Solutions 4 U, the trusted used car dealership in Rogers, Arkansas, where integrity, excellence, and innovation are at the core of our business. Our extensive inventory of used cars, trucks, and SUVs is perfect for your daily trips to Pinnacle Hills Promenade or your weekend picnics at Veterans Park.
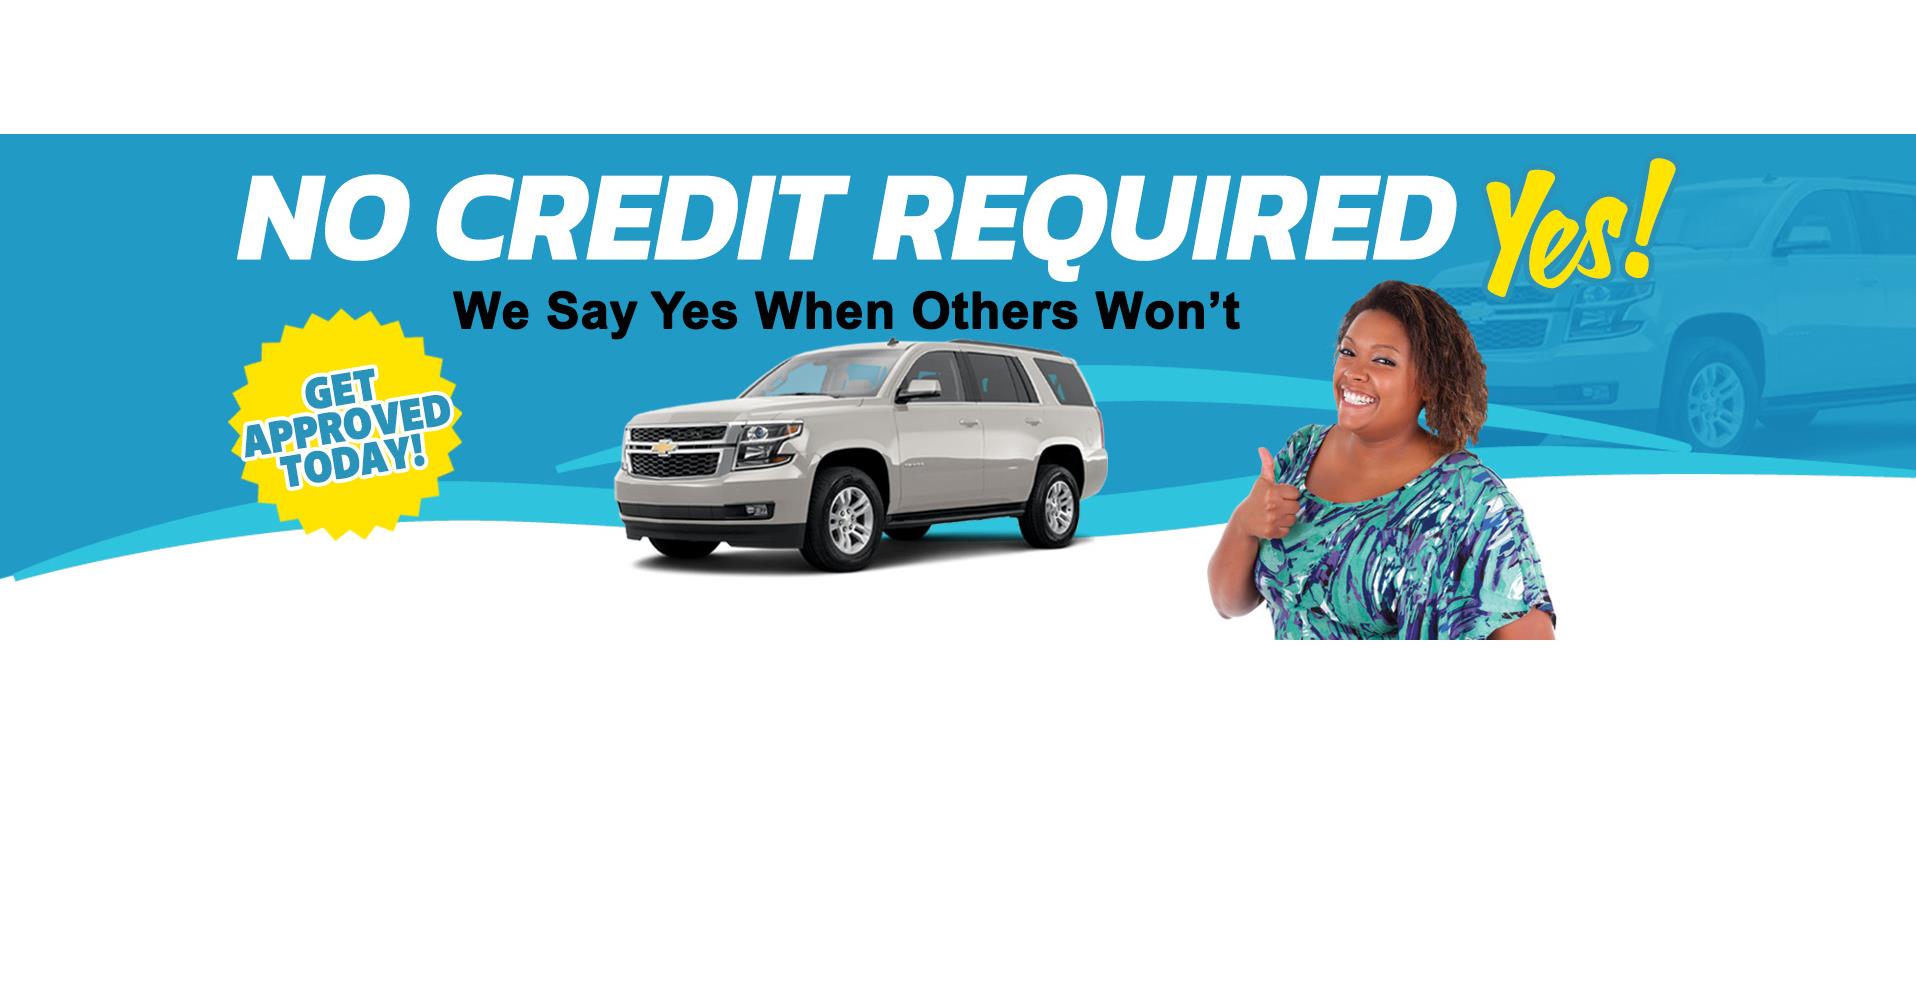
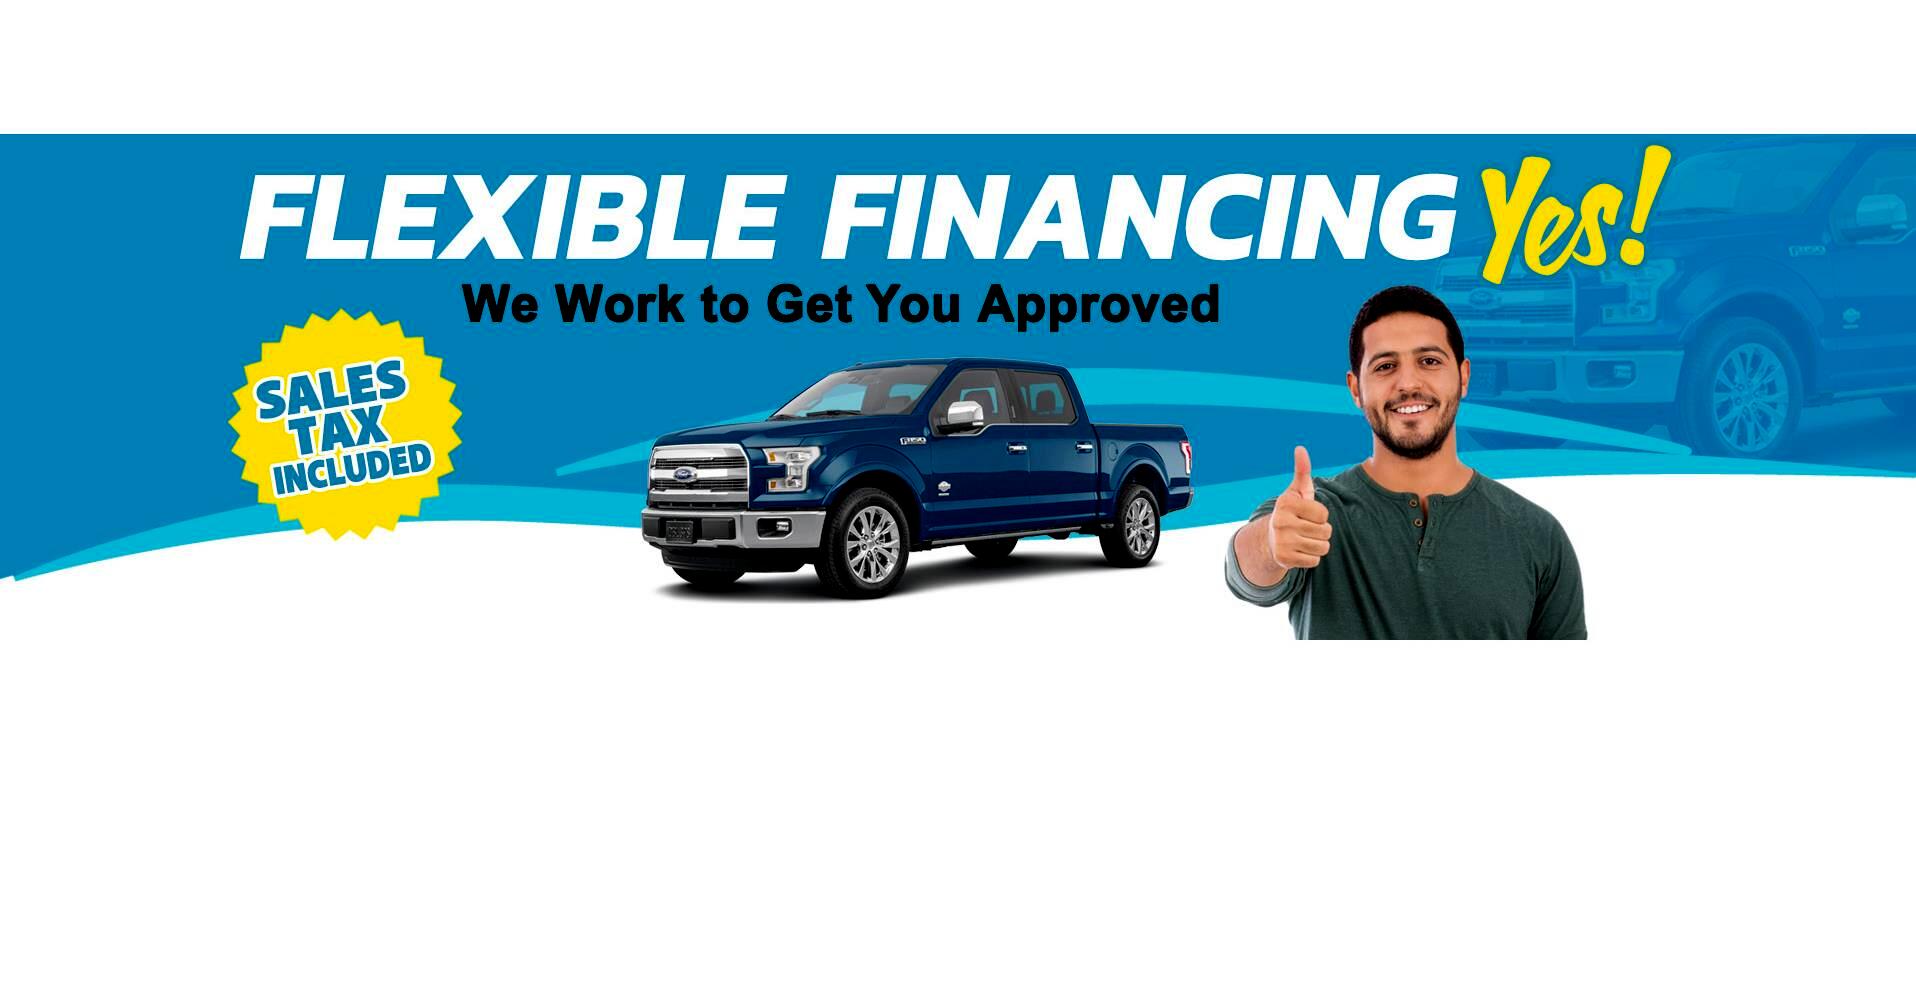
We understand that life can throw curveballs, and credit concerns shouldn't keep you from getting a reliable vehicle. That's why Car Solutions 4 U offers "Buy Here Pay Here" solutions for customers facing credit challenges, with down payments as low as $500. It is easy to apply online to get started!
Our dedicated team of professionals prides itself on open communication, making sure you feel comfortable and informed throughout the car buying process. We listen to your needs and diligently work to match you with a used car, truck, or SUV that suits your lifestyle and budget.
At Car Solutions 4 U, we're more than just a used car dealer – we're your one-stop shop for all your automotive needs. Our experienced staff is here to guide you through the entire journey, from browsing our inventory and test-driving your dream vehicle to securing financing options tailored to your situation.
Accountability is one of our key values, and our goal is to build enduring relationships with our customers. By focusing on innovation, we continuously seek new ways to improve our services, striving to exceed your expectations every step of the way.
Trust Car Solutions 4 U to provide you with a reliable and affordable vehicle for all your needs, whether it's dropping the kids off at Elmwood Middle School or commuting along the bustling Walnut Street. Our quality pre-owned vehicles are designed to make every drive enjoyable and convenient.
We believe that the car buying process should be enjoyable and fun. Visit our dealership today and let our friendly, knowledgeable team help you find the perfect used car, truck, or SUV to suit your lifestyle and budget.
Discover the Car Solutions 4 U difference – where integrity, excellence, and customer satisfaction take center stage. Let us help you overcome your credit challenges and get back on the road with confidence. Your journey to automotive success starts here at Car Solutions 4 U.